By Rose Zhou, MA Conservation Studies, Ceramics & Related Materials
Christmas is around the corner and through complete coincidence, this is the third year in a row that the department has been offered a Christmas-themed project!
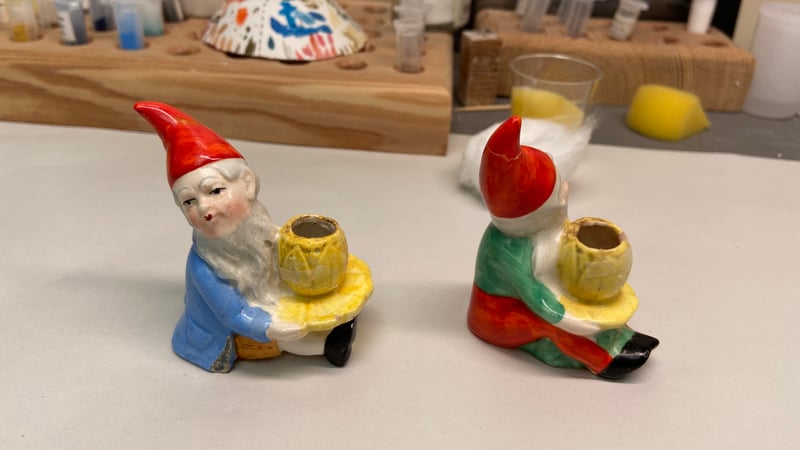
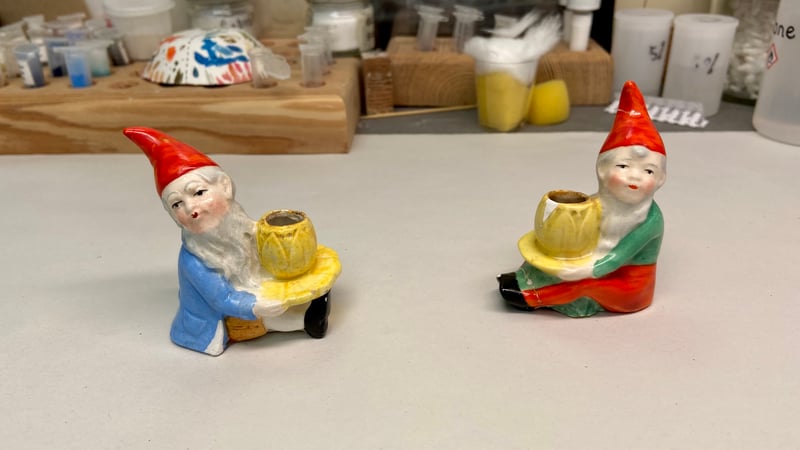
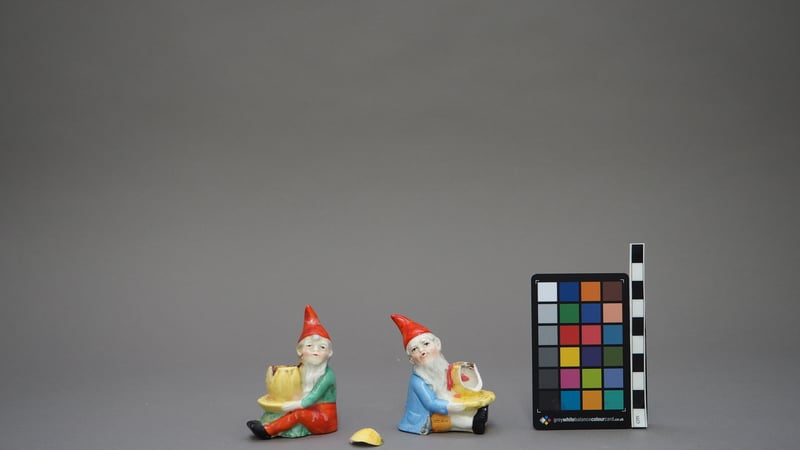
This year, our special guests are these two very small elf candle holders from a private client (fig 1). Although they have been with us for a time, due to Covid-19, we have only recently been able to carry out our conservation treatments - just in time for the festive season.
The client hoped to have the object’s visual condition improved. The most obvious issues were a detached sherd from the candle holder the blue elf was holding, and missing areas related to the green elf. It was expected to be a relatively short-term project, but it also posed some interesting challenges for time management and decision making. In this blog, I’ll explain how the conservation treatment has given the elves a fresh appearance while respecting their life story of use.
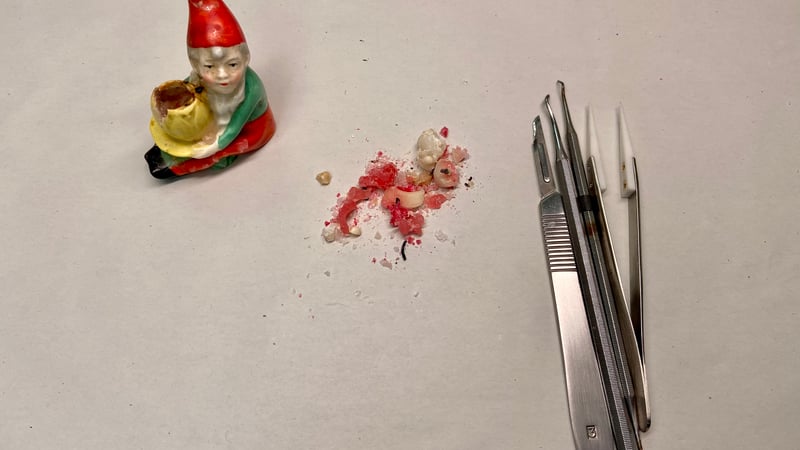
The first challenge was dealing with the wax. Originally designed and used as candle holders, it was not a surprise that wax residues existed over the surface, and blocks of candle wax remained collected in the hollow body.
Dental tools and tweezers were very handy to access the interior - working on the small scale felt like surgery! (fig 2). It was surprising how much wax was removed.
Wax residues on the exterior surfaces were carefully removed mechanically. Bench tests were carried out away from the objects on traces of the surface deposits and adhesives to ensure the stability of the surfaces during treatment with solvents. Local cleaning took place with the relevant solvents.
The elves looked much happier already.
The second challenge was to gauge the best course of action regarding the old repairs.
The blue elf had an area of body loss at the proper right corner of his jacket and the green, an area of body loss at the proper right foot tip. In both cases the exposed ceramic edges had been retouched directly.
Adhesive residues and previous noticeable bond lines existed in numerous areas, such as the tip of hats, neck and feet, and two different kinds of adhesives were noted. One was colourless and clear, the other was yellowish brown.
Some bonds were misaligned and the client had felt not too distracting. However, they could also become more eye-catching once the current most obvious damage was lessened. Thus, it was important to decide on how much intervention was necessary for the ‘minimal intervention’ required.
Having decided with my tutor Lorna, we eventually agreed:
1. All body losses would be filled, as the exposed surface could potentially draw in moisture into the porous body and cause future damage.
2. One previous bond would be dismantled and re-bonded, as it was at an eye-catching position and could affect the area that required filling right next to it.
3. All other previous bonds would be left in place as stable, but the adhesive residue would be removed and micro-filling along the bond lines would be carried out to improve the visual aesthetic.
The dismantling of the section of the candle holder was carried out with solvent on cotton wool (fig 3) and further adhesive residues mechanically removed by scalpel, or chemically with solvent.
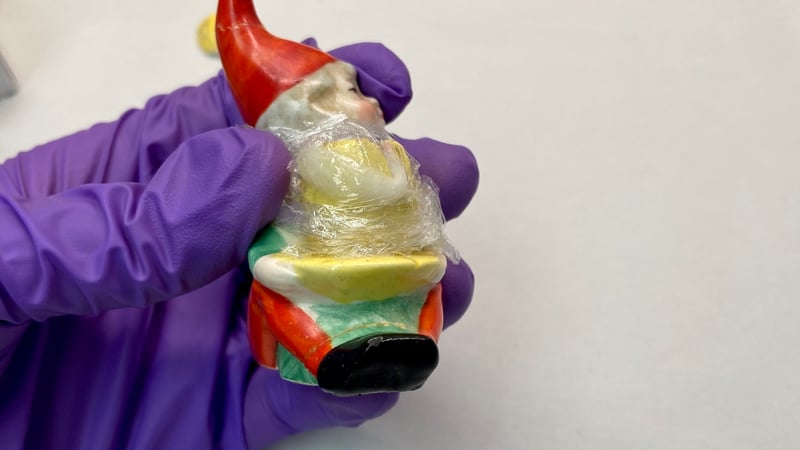
The third stage was bonding. Considering the porous nature of the original body, an acrylic -based adhesive was used for bonding the sections. Tapes were used to create extra support during the bonding process (fig 4).
The fourth stage was filling missing areas.
The areas of loss were very small and complicated at times by their location next to slightly uneven previous repairs.
A plaster-based acrylic filler was used, as it could be easily applied and modelled in-situ and be diluted with de-ionized water for micro-filling purposes.
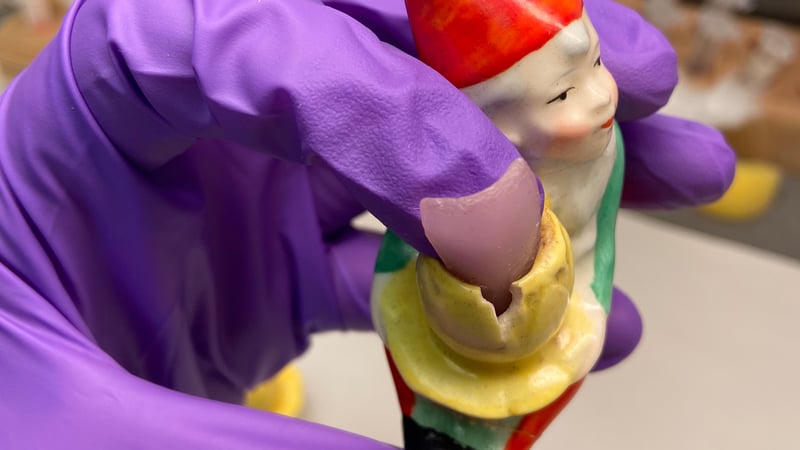
For the green elf’s candle holder fill dental wax sheet was used to create a support of the right shape and curve (fig 5). Micro-filling was also carried out along the misaligned bond lines to create a flatter surface for retouching at the next stage. All fills were refined and polished (fig 6).
The fifth and final stage was retouching.
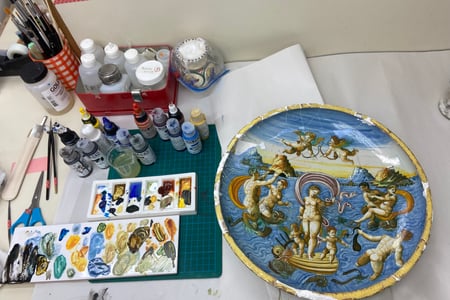
Bench tests were carried out to assess the materials that would best mimic the original surfaces. Water-based acrylic media was used because they created an even surface texture and suitable colours with a nice gloss quality. It sounds straightforward, but all surfaces tended to have their own features instead of being completely flat and monochrome. So multi layers of retouching were often necessary to create the right surface quality and mimic the defects of the original surface!
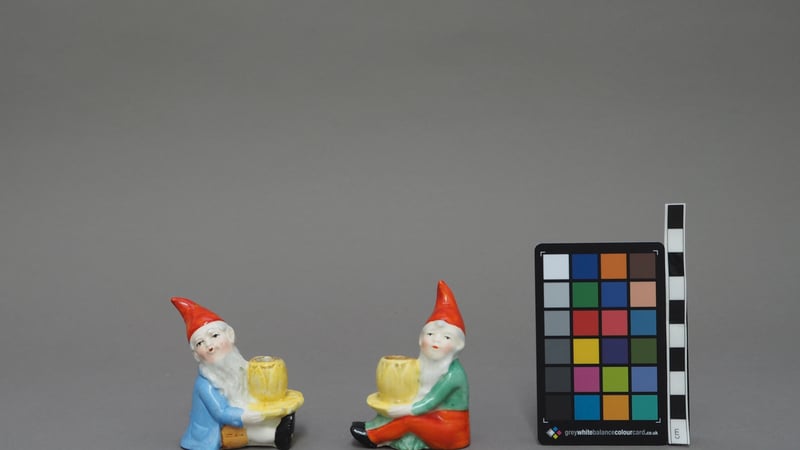
Now the elves are ready to go home for Christmas (fig 7). The whole project lasted two weeks, and it was very satisfying to see the elves brightening up gradually through the treatment process. Although all the treatments carried out can be regarded as basic practical skills in our training, they still require a lot of thinking and decision making based on different aspects of the object’s context and condition. It will never be the same experience with another project, and for me that’s the charm of conservation!
The Masters in Conservation Studies is the global industry standard for conservation; the programme equips students with the high level specialist skills sought by the conservation sector.
Find out more about the MA Conservation Studies, and specialising in Ceramics and Related Materials on our website.
Applications are open for 2021/22 study.