Note from the Editor: The Graduate students in Books have paired up to work on two Bibles, each with their own set of problems. In a series of posts they'll explain what they're doing, as well as giving some tips for preventing this type of damage in your own books!
__________________________________
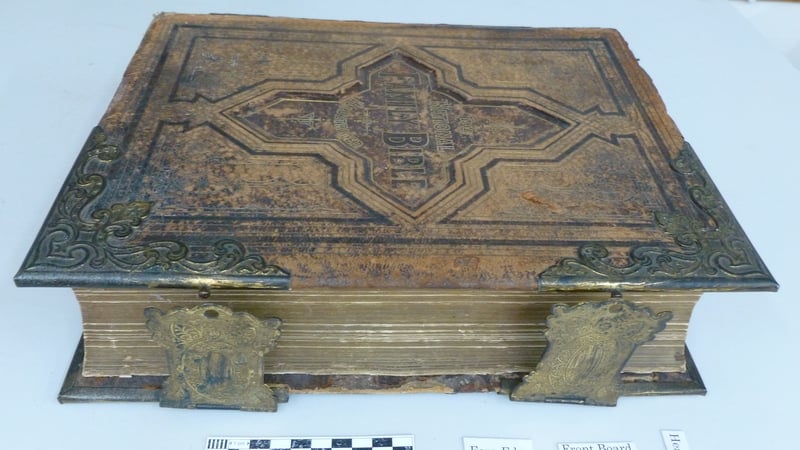
The mid-19th century family Bible that I am currently working on with William, one of my fellow students, has many interesting challenges for conservation.
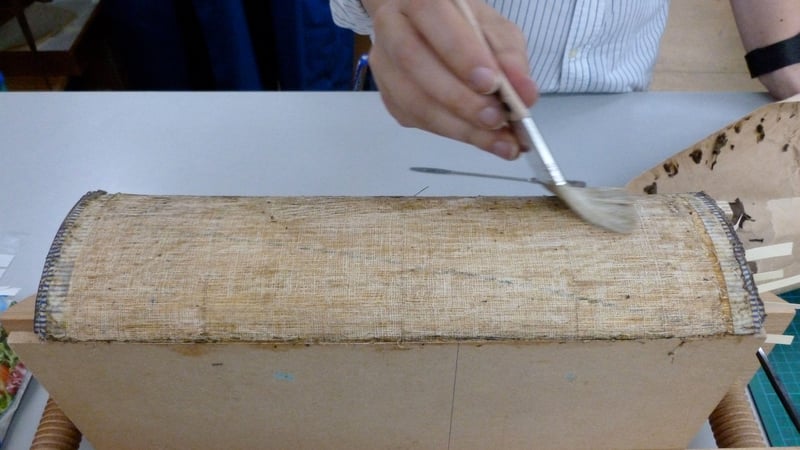
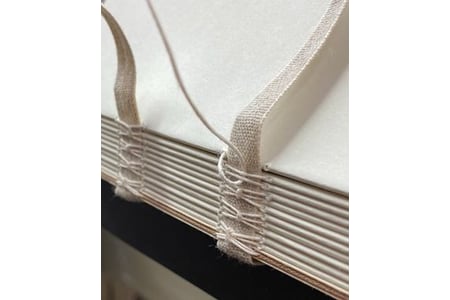
It is a large, heavy volume (270 x 340 x 95 mm), sewn on five recessed cords. Usually, the sewing on recessed cords is not so strong as, for example the same book sewn on raised cords, but surprisingly the structure of this spine is still stable.
The boards on both sides have been completely detached from the spine (one of common issues of old books). They are each constructed of two laminated pieces of board, which are separating at the corners.
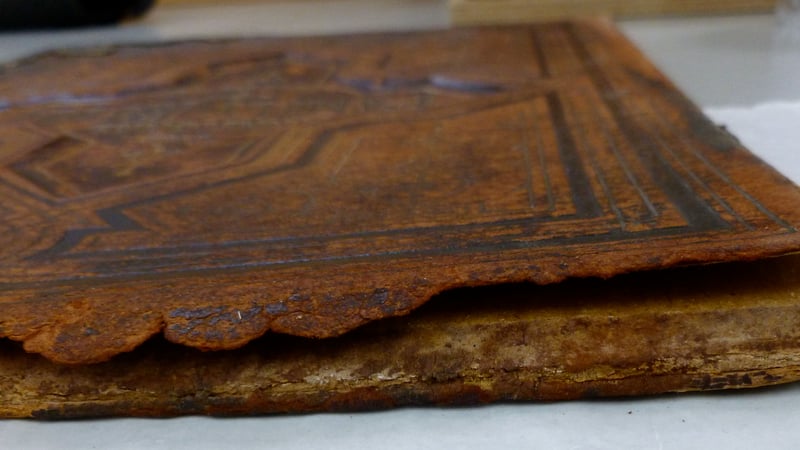
The brown calfskin covering the volume has been heavily deteriorated and shows the characteristic orange red powdery texture of "red rot", the acidic deterioration of leather, observed on leathers especially from the mid-19th century. The distinguishing smell, which is the same as the one I often smell in second-hand bookshops or libraries with old books, was also confirmed from this red-rotted leather.
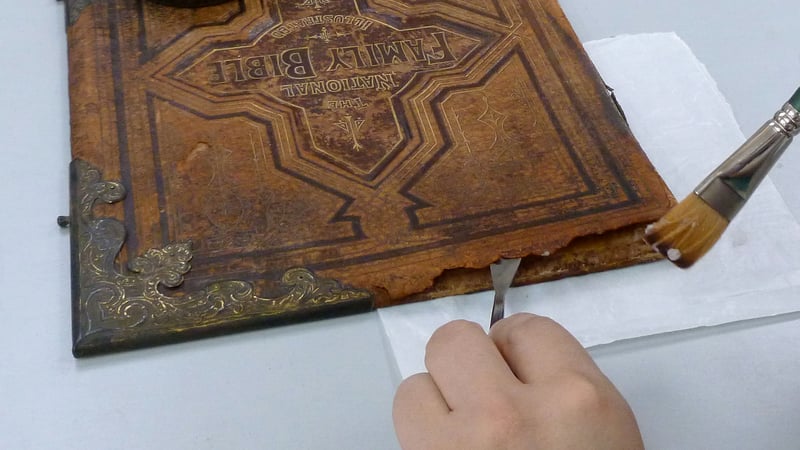
In order to carry out the conservation work, first of all, it was necessary to stop the calfskin from being powdery by using a consolidant. Klucel-G, a weak adhesive, was dissolved in isopropanol and applied to stick back together the crumbled leather on the surface. The back sides of detached leather pieces were also coated with Klucel-G. These detached leather pieces were pasted back using wheat starch paste after the boards were re-laminated. For this step, quite a large amount of wheat starch paste was needed, and it contains a lot of moisture, which often leaves black stains on degraded surfaces of leather. The Klucel-G coating on the back of the leather would protect the moisture from staining the leather.
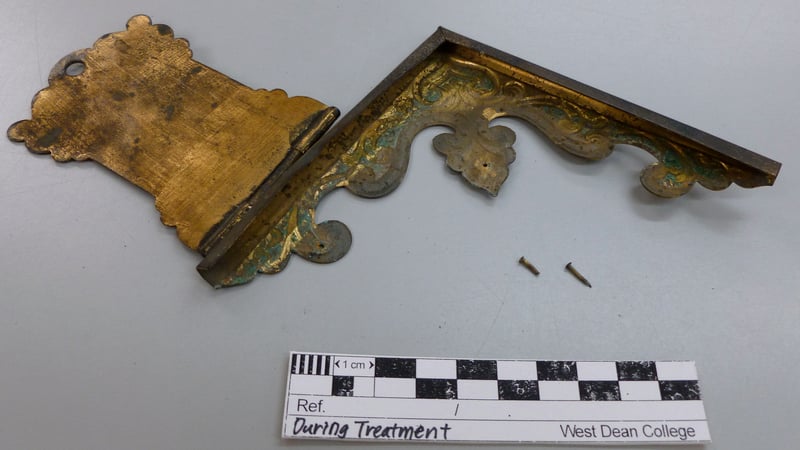
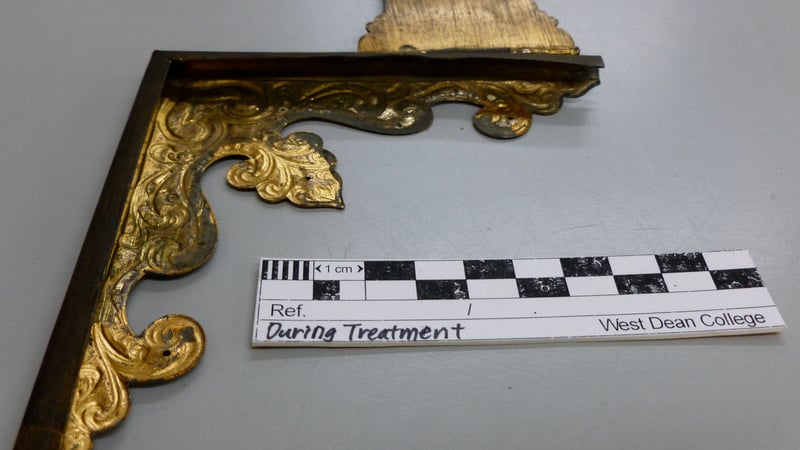
Once the leather was treated, William and I started working on the four pieces of metal furniture. They are two pairs of clasps set on the corners. Two on the front board were still firmly attached, but one on the back board has been detached and the other one has been very loose.
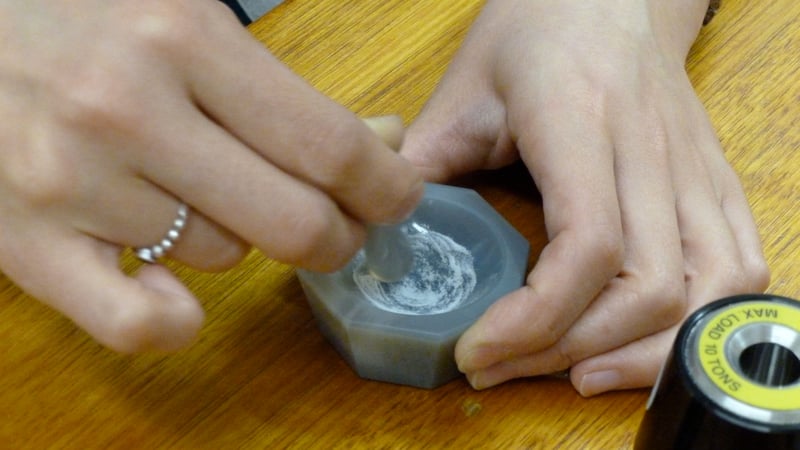
After consulting people in the Metals Department, the green copper alloy corrosion was scraped off with a scalpel under a microscope. Particularly under the microscope, the corrosion's bright green colour was very beautiful next to the copper alloy's gold colour, so I kind of wanted to keep them. But instead of keeping it on the furniture, because it would continue to corrode and cause damage, we collected and analyzed it with the FT-IR spectrometer.
We used these samples as excuses to try out this kind of spectroscopy. Actually, (as you may know) FT-IR works better for organic materials rather than inorganic materials, like this copper corrosion. However, the spectrum we got was totally different from any of the reference spectra of verdigris (copper corrosion) provided on the Infrared and Raman Users Group website, a resource with FT-IR spectra. We could have analyzed it with XRF, but when we figured that out, we didn't have enough verdigris left to study. It was a learning experience.
Although the verdigris analysis with FT-IR failed, the analysis of the transparent brown substance on one of the furniture was successful: it was defined as mastic, a kind of resin. Also, the metal of the furniture is now identified as brass, as the XRF spectrum showed peaks at copper and zinc. The conservation project on this Bible demonstrates very well that scientific analysis helps us to obtain more precise information on the material we work.
We will go on to the cleaning of the brass furniture with IMS followed by a protective coating of microcrystalline wax, as well as repairing the hinges. Once the furniture is ready, it will be reattached on the board with new nails.
The tube hollow on the spine has already been removed for rebacking and board reattachment. The boards will be slotted to attach new hinges for reattachment to the spine. Then the spine will be given a new hollow, covered by the new leather, and the original spine leather will be pasted on to that. Every bit and piece will be assembled soon - please look forward to the next post!
